|
Plan an Easy Freezer Meal Workshop DECEMBER 1, 2025 / ADINA BAILEY / 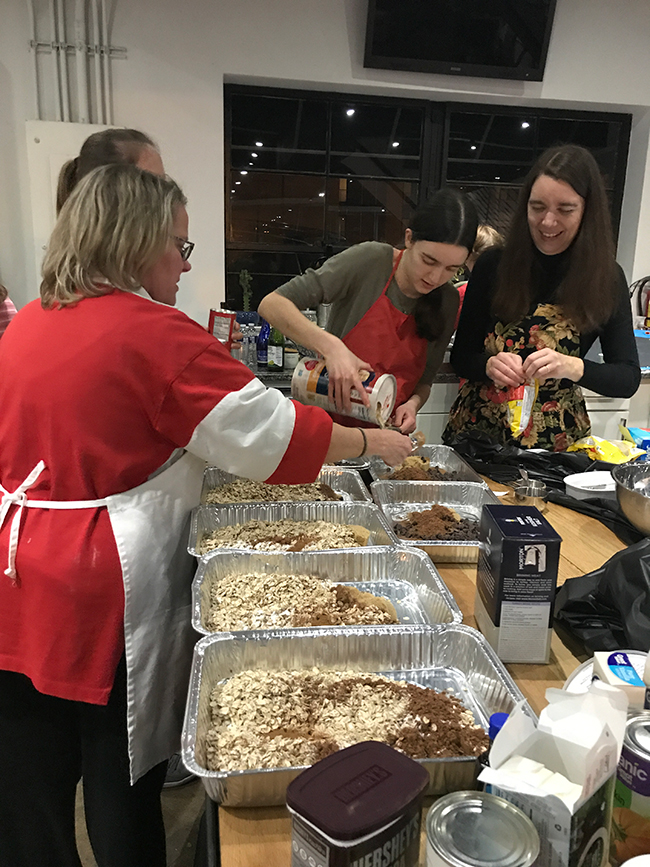
Freezer meals are a great solution when a family has already had a meal schedule, but they have an ongoing need for meals after the meal schedule ends. You can stock their freezer with easy dinners and they can pull them out as needed.
For this particular workshop our goal was to give the family eight meals and each woman who helped also took home one meal for her family. Definitely a win-win situation for everyone who attended. The feedback at the end of the night was "when can we do it again!"
Steps to Plan a Freezer Meal Workshop:
1. Determine the location and group size
I planned my workshop for ten attendees and asked a friend from church if we could use his office's kitchen. I knew we would need a big work space, but our church currently does not have a kitchen. If you decide to do this at your home, I would make the group a little smaller, maybe six to eight people.
2. Select your recipes
I decided we would make five different recipes (to give the family some variety) and we worked in groups of two. In this case, we needed to make dairy-free recipes and we also made some gluten-free due to sensitivities specific to our group. Regardless of these considerations, these are delicious recipes for everyone and work well for a workshop.
Here are the yummy freezer recipes I selected:
Bonus item:
Baked Brownie Oatmeal I also brought along the ingredients for all of us to make one Baked Brownie Oatmeal as well. This was in case we finished up early. Everyone was having so much fun we decided to make a Baked Brownie Oatmeal for everyone. We finished the meals and clean up in about an hour and a half, but adding the Brownie Baked Oatmeal brought us closer to two hours.
 3. Plan out the ingredients needed and create a sign up
I compiled an ingredient list we needed to make each recipe four times. I planned to purchase all the meat for our workshop. Then, I made a sign up where those attending could sign up for what recipe they wanted to make. Each sign up had a list of fresh items they needed to bring to complete the recipe. I provided the extra oils and spices. You can view our PerfectPotluck.com sign up here.
Our church paid for the meat and eggs because half of the meals were going to help a family from our church. If your group will be taking home all of the meals it's easy for one person to buy the meat and divide the food bill evenly among the group.
4. Compile a list of additional items needed
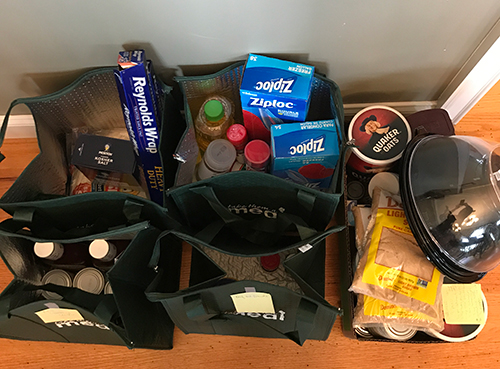
All of these meals (except the Brownie Baked Oatmeal) went in gallon size freezer bags, so I needed to have plenty of those. I also recommend covering the food prep area in a giant table cloth to make clean up a breeze. Some of the other items I needed were cutting boards, aluminum foil, and knives because I wasn't going to be in my own kitchen and I wasn't sure what would be available. Put simply, I thought about making each recipe and wrote out what non-food items would be needed. The recipes I selected didn't need a lot of kitchen tools and that was intentional.
5. Print each recipe and cooking instructions
I printed each recipe, so the team of two preparing it would have a copy at their station. I also printed four copies of the directions for how to prepare the meal from frozen. I used label paper for the directions, so they could place them on the gallon size bag after preparing the meal. You could print the directions on paper and tape them to the bags as well.
Here's an example of what was taped to the finished meal:
BROWNIE BAKED OATMEAL
Freezer Directions: When ready to eat, thaw and bake at 350 degrees for 20 minutes (or until toothpick inserted in middle comes out clean) 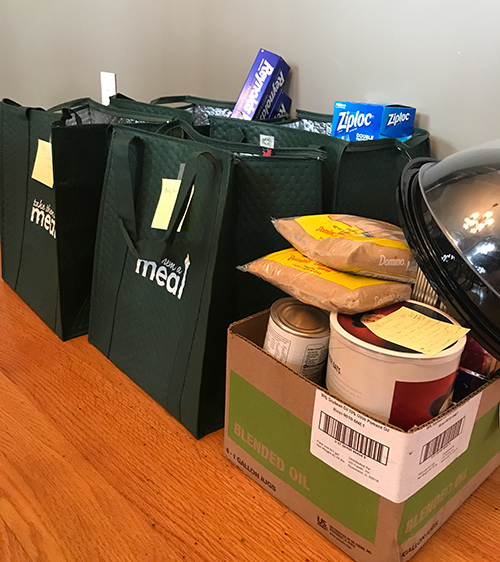 6. Organize supplies by recipe
I did this ahead of time because I was taking the items to a kitchen outside my home, but I still recommend setting up stations if you are hosting the workshop at your home. This helped me to see that I had everything needed for each recipe.
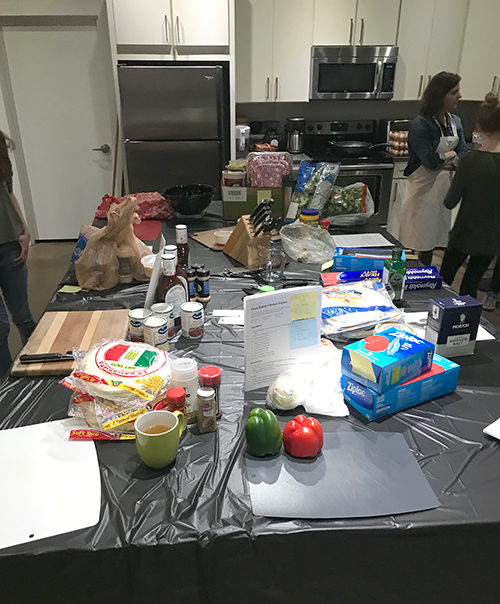 7. Set up cooking stations by recipe
Once I arrived at the kitchen, I quickly covered the prep table and I set out the recipes and the needed supplies at five different stations. As my friends arrived with their ingredients, they found their cooking station and reviewed the recipes.
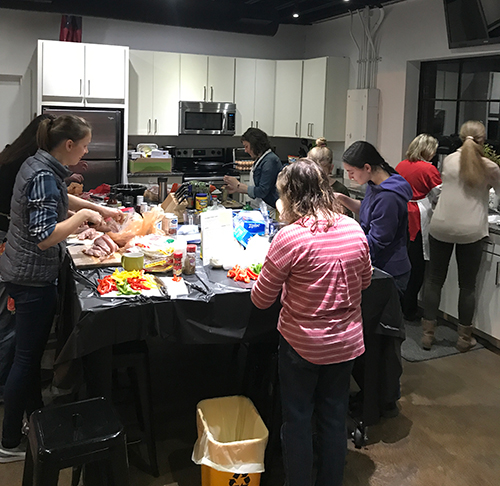 8. Give brief instructions
Once everyone arrived, I shared some brief instructions that helped make the workshop go smoothly.
The main points I shared were:
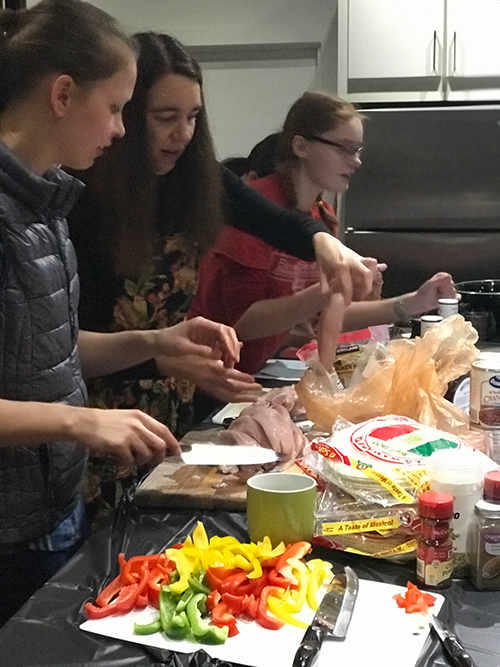 9. Enjoy chatting and cooking with your friends
I don't think any of us expected how much fun we would have preparing these freezer meals together. Because we had some extra supplies, we ended the evening with 22 meals and eight Baked Brownie Oatmeals. We were able to give families in our church ten meals and everyone who attended took home a meal and a Baked Brownie Oatmeal.
I also took home the meals we made for the family at our church and froze them. A few days later, I delivered them to the family.
A friend and I brought along some light refreshments and we listened to music. We all commented at the end of the evening we enjoyed being together and being productive at the same time. We hope to do another workshop soon!
Read other recent articles by Adina Bailey:
 |
Welcome! We're thrilled you stopped by. Our own joys and sorrows have taught us that a well-timed meal delivered by a friend is one of the best gifts imaginable. In this space, we share our favorite recipes to take to friends, meal-taking tips, and other ways to care for those who are dear to you. Helpful Posts
Recent Posts...
|


