|
DIY Dry Erase Picture Frame JULY 2, 2012 / ADINA BAILEY / 
Heres a simple and creative DIY idea from our friend, Renee, at Barefoot Walks. These dry erase picture frames have so many practical uses and theyre decorative even when theyre not in use. Its a thoughtful item to include with your meal because you can list out the menu or write an encouraging message. Thanks, Renee, for sharing one of your great ideas with us. My favorite part of summer is having my boys home for extended periods of time allowing us ample opportunities to create special moments and memories together. My boys are still at ages where they love being with me, and they love having projects that we can work on together. Working on a craft or creation together provides us with a bonding experience that each of us treasures. Ive posted this project on our family blog in the past. Im posting the idea again here because it is such a popular one and is one your kids or grandkids can easily do, even on their own. 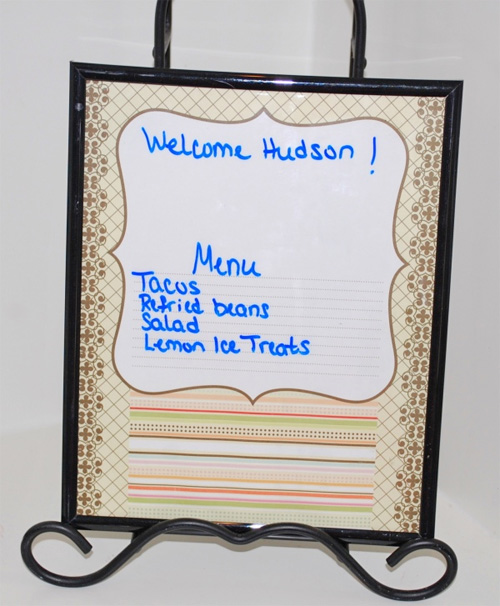 Do you have empty picture frames sitting in a drawer somewhere? If not, you can buy them for $1 at the dollar store or Wal-Mart. A picture frame dry erase board is so useful around the house. I love to make them using cardstock that coordinates with the decor, which is much more fun and interesting than the plain white boards. We have found uses all over the house for these picture frame boards. We use one on our family command center wall for writing out our weekly menu, we use one in the kitchen for writing our scripture memory for the week, and we use them in the boys rooms for their personal hygiene chore charts. They also make great gifts. The boys and I made these for our niece and nephew for Christmas to coordinate with their bedrooms. We added their names to them and a little fun embellishments. One of my nieces has enjoyed making these herself to give to friends as birthday gifts. 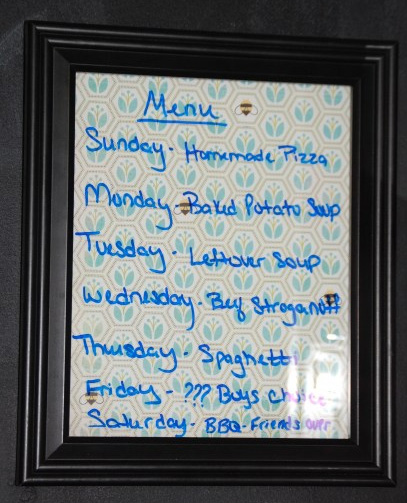 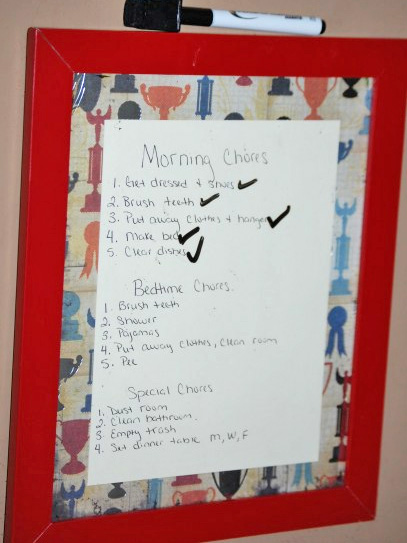 Today we are making one as a gift to go along with a meal we are providing for a friend who recently had a baby. We will use it to announce the menu for what we are providing. A fun little gift the family can continue to use in their home even after the meal is devoured. Supplies:
Ok, here is the so simple tutorial, it can hardly be called a tutorial. Step 1: Measure and cut your paper to fit inside your picture frame. We are using an 8 x 10 frame, so we cut our cardstock to those dimensions. Step 2: Insert the paper inside the frame behind the glass Step 3: Write a message That is it!! Options: Add a hanging ribbon to the frame. Or embellish the cardstock for added interest. Be sure to visit Barefoot Walks for other memorable projects that you can enjoy with your family this summer Read other recent articles by Adina Bailey:
 |
Welcome! We're thrilled you stopped by. Our own joys and sorrows have taught us that a well-timed meal delivered by a friend is one of the best gifts imaginable. In this space, we share our favorite recipes to take to friends, meal-taking tips, and other ways to care for those who are dear to you. Helpful Posts
Recent Posts...
|
